 |
| Round one. |
 |
| See? Very ricey. Very grainy. |
 |
| Round two - now we're talkin! Before baking. |
 |
| Round two, after baking - hanging out on my flipped-over cookie sheet so I could slide it easily onto the baking stone once ready. |
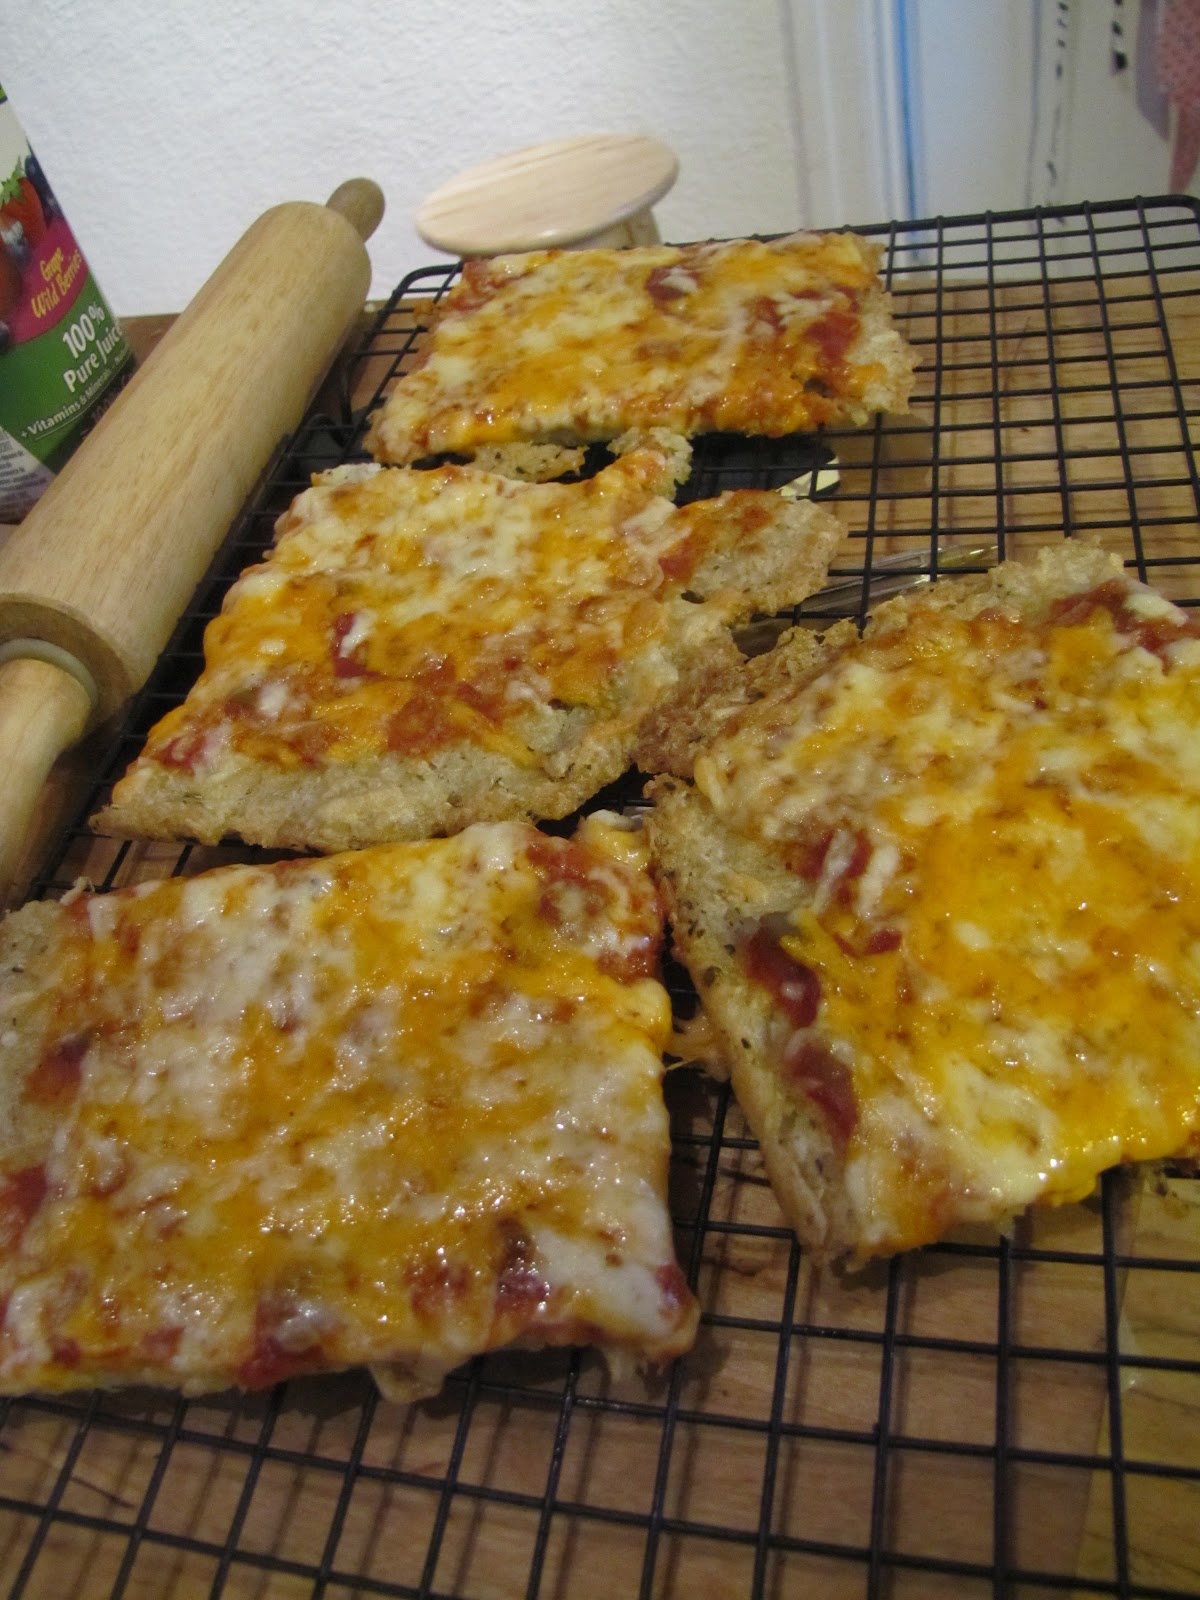 |
| Slices cooling (COOLING RACK IS ESSENTIAL). |
 |
| Yeah baby! Holding together say what!! |
So.
1 1/2 c brown rice
4 c water (yes, this is more than you'd usually use to cook this quantity of rice) (or, for bonus points - presoak your rice in 3 c water for 24-48 hours - it will be bubbly, and the rice will have absorbed about 1 cup of water - so save some of the soaking water as described in that link, then add back in 3 c to cook)
1 tbsp bacon fat or butter
a good pinch of salt
--> Throw it all together in a nice pot with a tightly-fitting lid, bring it to a boil, then reduce to low, cover, and simmer for one hour.
--> After one hour, remove the lid and tilt the pot. There should be no water escaping.
--> While still hot & moist: use your soup hand-blender to blend as much of the rice as you can. What you are actually doing here is creating a flour dough in reverse - normally you grind dry grains into flour, then add water, then knead that and call it a dough, yes? But here we first add the water to the whole grains, cook them, and then grind it into a dough, you follow? So once 50%-80% of the cooked rice has been mushed (the more the better, but it's not necessary to destroy each and every grain), set aside and let cool.
--> Once cool, preheat the oven to 400 F. Add one egg and 1 1/2-2 tsp of mixed herbs (I used oregano and basil), then mix into the rice mixture well.
--> Grease a cookie sheet. Plop on the rice mixture, spread around, then pat and pack down the dough into a crust shape (wet your hands with cold water often or it will stick like heck). Drizzle on some oil, then brush it around with a silicone pastry brush (or use your hands).
--> Bake about 30 minutes, until lightly golden at the edges.
-->There you go! Once you have your crust, spread on some of your favourite sauce and a mix of grated cheeses and whatever else you want, and you are good to go! Bake that another 20-30 minutes or so.
--> IMPORTANT: Once pizza is fully baked, let cool about 5-10 minutes on the pan/on the stone with the oven door open - then cut it into wedges/slices and transfer immediately to a cooling rack. Let it hang out there another 5-10 minutes before serving. Otherwise the moisture that is trying to escape from the bottom of the pizza as steam will be trapped and will make it soggy. This is bad enough with wheat pizza (I mean really, who likes soggy?), but with his crust it's imperative to avoid, because it can make the grains break apart from each other and you'll be left with... a flat rice casserole. Yeah. After you went to all this blending trouble!!
Bon appetit!!
you never cease to blow my mind, Amy. What about pulsing the rice dry, resulting in a rice "flour"? Could that work too?
ReplyDeleteWell, it's hard to say! The thing is that most food processors are not appropriate for making flours. You really need a grain mill to get the fineness required. You could damage the motor of other machines trying to grind grain unfortunately. That being said, it's worth a try...! Though I don't know how you'd then adjust the liquid quantities and so on.
Delete